Qasa guides
Cashier guide
For cashiers at establishments: cafés, restaurants, fitness clubs, hotels and more.
- Find the coupon by its number or pickup reference, or scan its code.
- Confirm the handover with a code shown on the customer's phone.
- Follow today's handovers and your venue's figures without spreadsheets.
01 Chapters Signing in to the till
Everything you need to hand Qasa customers their products: the customer shows their coupon, you look it up, Qasa checks it, then the customer confirms the handover with a six-digit code. No new devices: your phone or the venue's device and its browser are enough.
Chapter 1
Signing in to the till
You sign in with the account the association added to your venue.
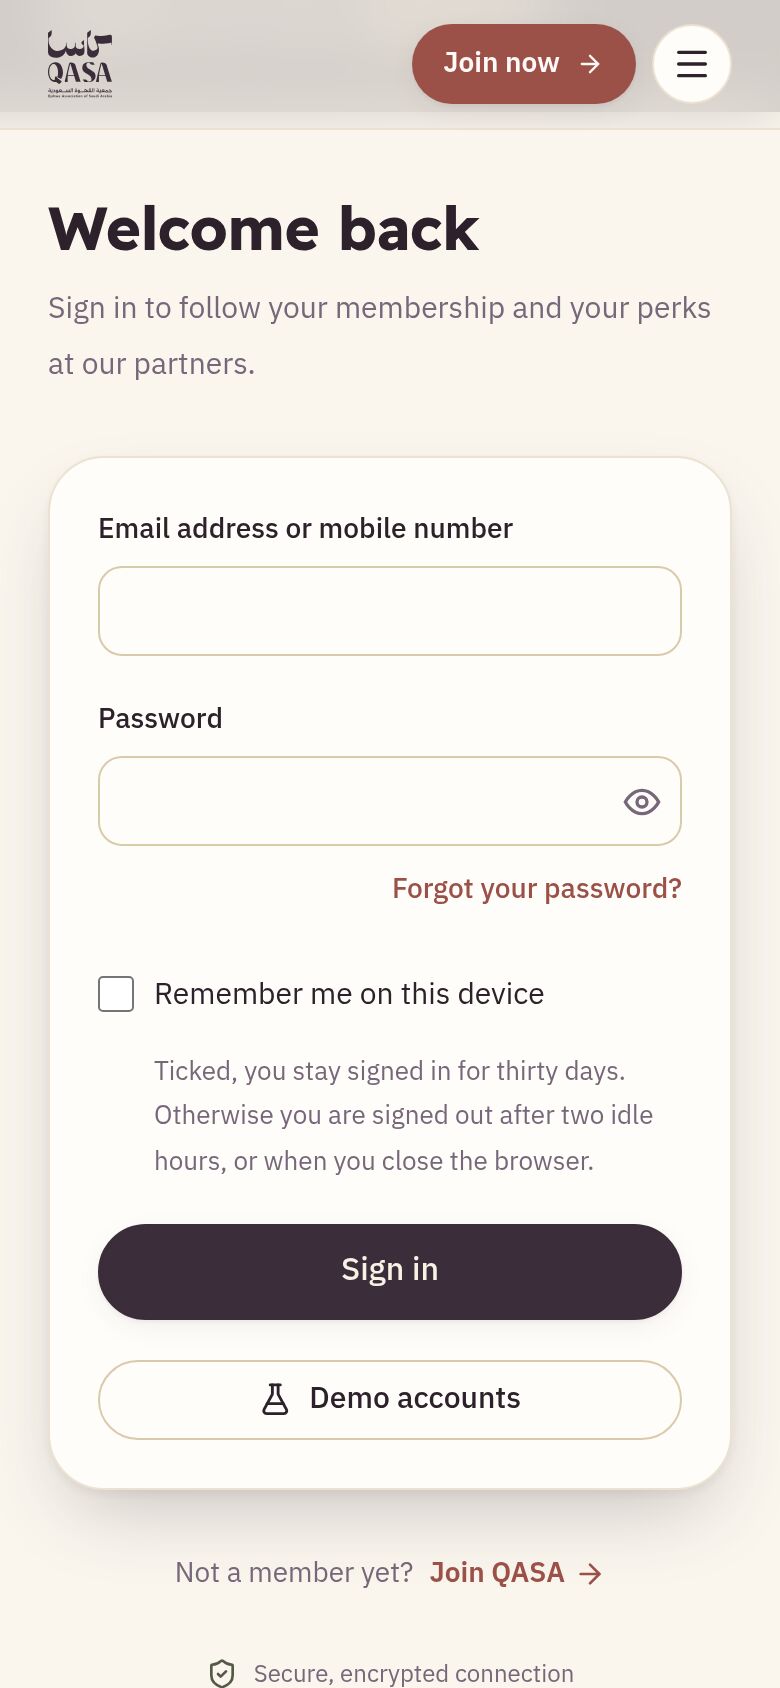
- Open the Qasa website and press “Sign in”.
- Write your email or mobile number and your password, then press “Sign in”.
- The till opens straight on “Collect a coupon”, with the venue and the branch you work at now at the top.
- If you received an invitation by email, open its link and choose your password first.
Up close— The parts the steps talk about, enlarged.
-
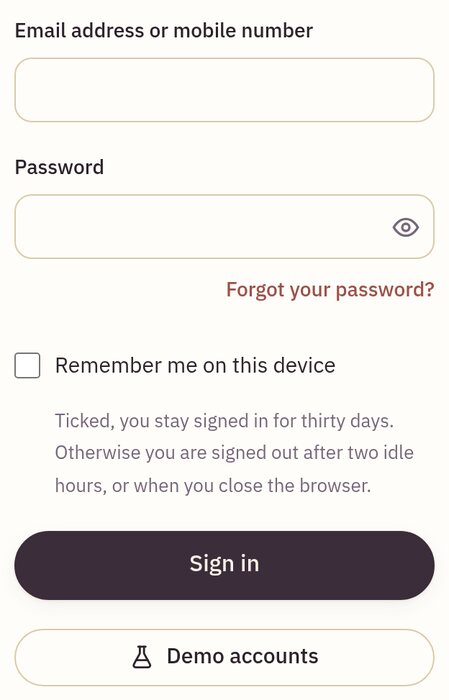
The sign-in form, by email or mobile
 24
Chapter 2
Collecting a coupon
The customer buys the coupon from the Qasa store, then comes to your branch to collect the product.
- In “Collect a coupon” ask the customer for the coupon number (like KC-7F3K-92QD) or the pickup reference (six digits). They find both in “My coupons” on their phone.
- Type either one in “Coupon number or pickup reference” and press “Find”. Or press “Open the camera and scan the code” and scan the QR code from “My coupons”.
- Qasa checks by itself that the coupon is for your venue, can be collected at this branch, is paid and unused, and is within its validity, days and hours.
- When “Ready to collect” shows, you see the product, its size, what it includes, the customer's first name and the last valid day. Move on to the confirmation code.
Chapter 3
When the coupon cannot be collected
The answer shows in red with its reason. Do not hand over the product.
- “This coupon is for another establishment” or “This coupon cannot be collected at this branch”: send the customer to the venue or branch written in “My coupons”.
- “This coupon was already used”: each coupon is collected once only.
- “This coupon has expired”, or “not collected on this day” or “at this hour”: coupons have collection days and hours set by the association.
- “The coupon is held for review” or “cancelled or refunded”: ask the customer to contact the association.
- “Another branch is collecting this coupon now”: a coupon is collected at one branch at a time. Wait until the other branch finishes or its code runs out.
Chapter 4
The confirmation code and handing over
A handover is recorded only with a code shown to the customer themselves, so nobody collects someone else's coupon.
- After “Ready to collect” press “Send the customer a confirmation code”.
- Within seconds a six-digit code shows in “My coupons” on the customer's phone. Ask them to read it to you.
- Type it in “Confirmation code” and press “Confirm the handover”.
- “Handed over” shows: the handover is recorded under your name at this branch and the coupon is now “used”. Give the customer the product, then press “Another coupon”.
- If “The code is wrong” shows, you see how many tries are left. If it expired, press “New code”.
Chapter 5
Today's handovers
Every coupon handed over today at this branch, newest first.
- Press “Today” at the top of the till. The count of today's handovers also shows at the top at all times.
- You see the number of handovers and of different coupons.
- Each line shows the product and size, the coupon number, who handed it over and the time.
Chapter 6
My venue: your venue's figures
Your venue's coupons over the period you choose, as totals without customers' names.
- Press “My venue” at the top of the till.
- Choose the period: “Today”, “Last 7 days” or “This month”.
- You see what was handed over at this branch, how many of your venue's coupons sold, how many people collected, how many coupons are waiting now, and the products collected most.
- Look at “Busiest hours” to see the days and hours with the most handovers, and get ready for them.
Chapter 7
When the connection drops
A coupon cannot be checked or its handover confirmed offline, and Qasa keeps nothing to send later.
- If “No connection” shows, do not hand over any product.
- Finding and confirming stop until the connection is back; the screen keeps trying by itself.
- Check the venue's network or the phone's data.
- When it is back, find the coupon again and send the confirmation code.
Chapter 8
Switching venue or branch
If you work at more than one establishment, choose on the screen the venue you are at now.
- Press “Switch venue” (or “Venue” on a phone).
- Press the venue you are working at now; the current one is marked “You are here”.
- The whole screen switches to that venue: its coupons, today's handovers and its figures.
- At the end of your shift press “Sign out”, then “Yes, sign out”, especially on a shared device.
Chapter 9
The membership verify page
A public page that proves a membership is in force, useful at events.
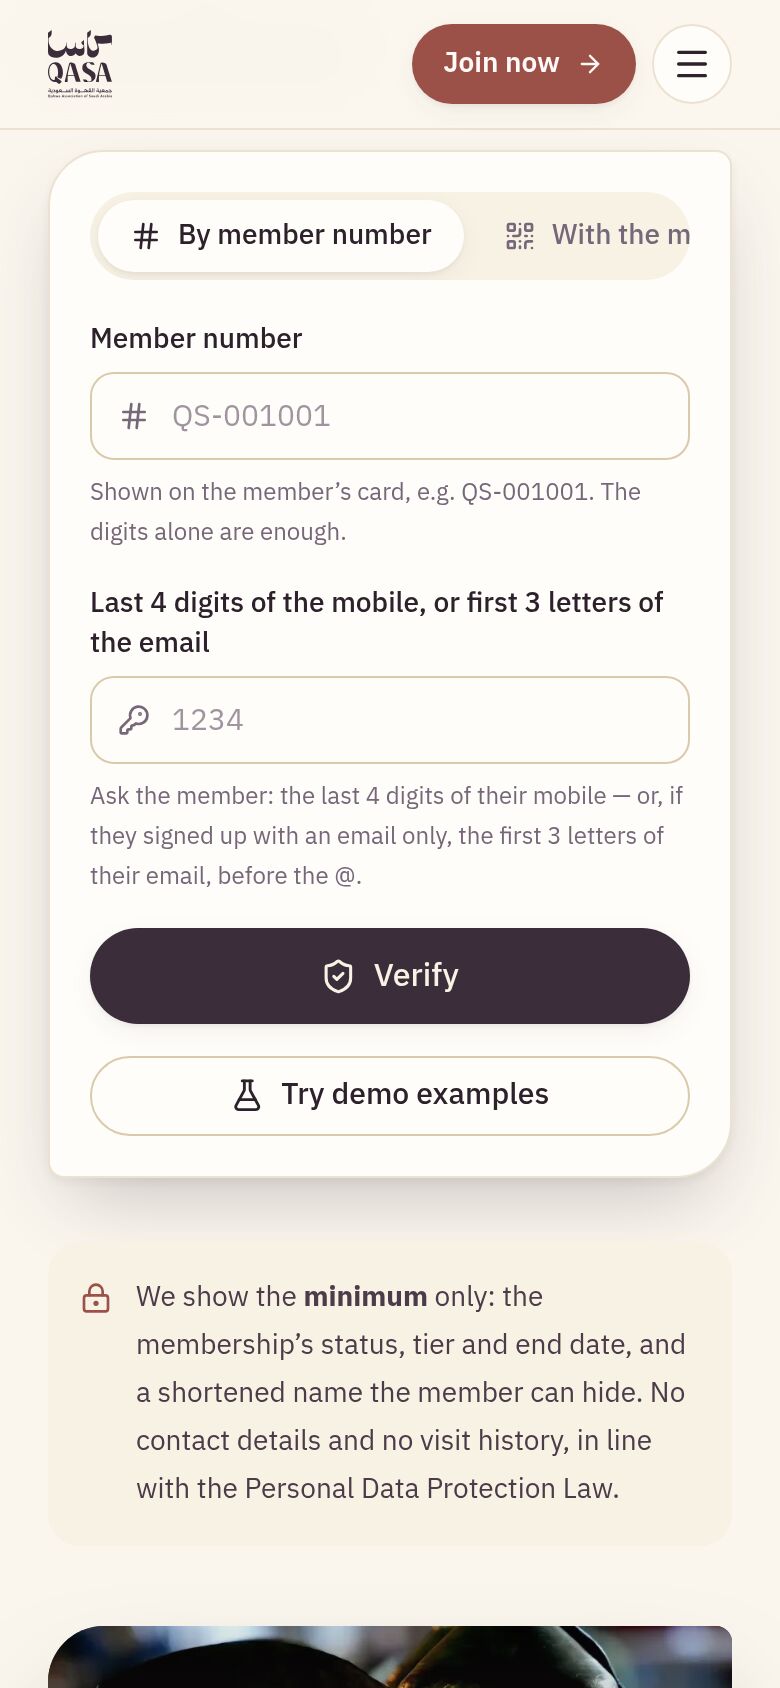
- Open the “Verify a membership” page.
- Under “By member number”, write the member number and the last four digits of the member’s mobile, or the first three letters of their email.
- Or under “With the member’s card”, scan the live QR code with the camera.
- Press “Verify” to see the status, the tier and the validity.
Up close— The parts the steps talk about, enlarged.
-
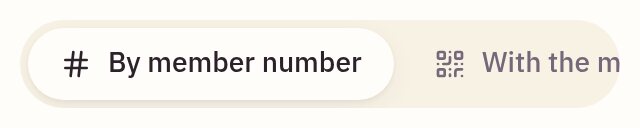
The two ways to verify
-
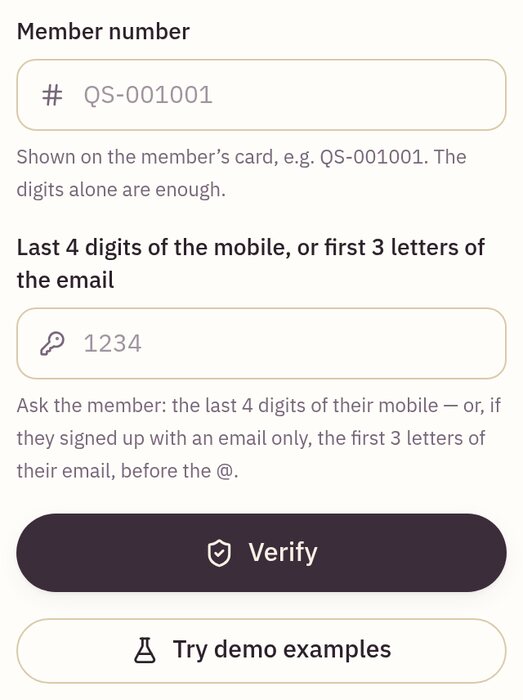
Verifying by member number
 234