Qasa guides
System administrator guide
For the association’s system administrators: the people who run the team, access, settings and content.
- Invite your team and give each person only what they need.
- An audit log nobody can edit, and faults handed to the developer in one press.
- Tiers, messages and settings in your hands, without a developer.
01 Chapters The team: invitations, roles and switching off
An administrator has everything in the association staff guide, plus the team and its roles, security, the logs, the programme settings, the content, the message templates and privacy requests. Qasa has no “super user”: everyone can do only what their role grants, and everything that happens is recorded.
Chapter 1
The team: invitations, roles and switching off
Who works at the association and at the establishments, what each can do, and where.
 24
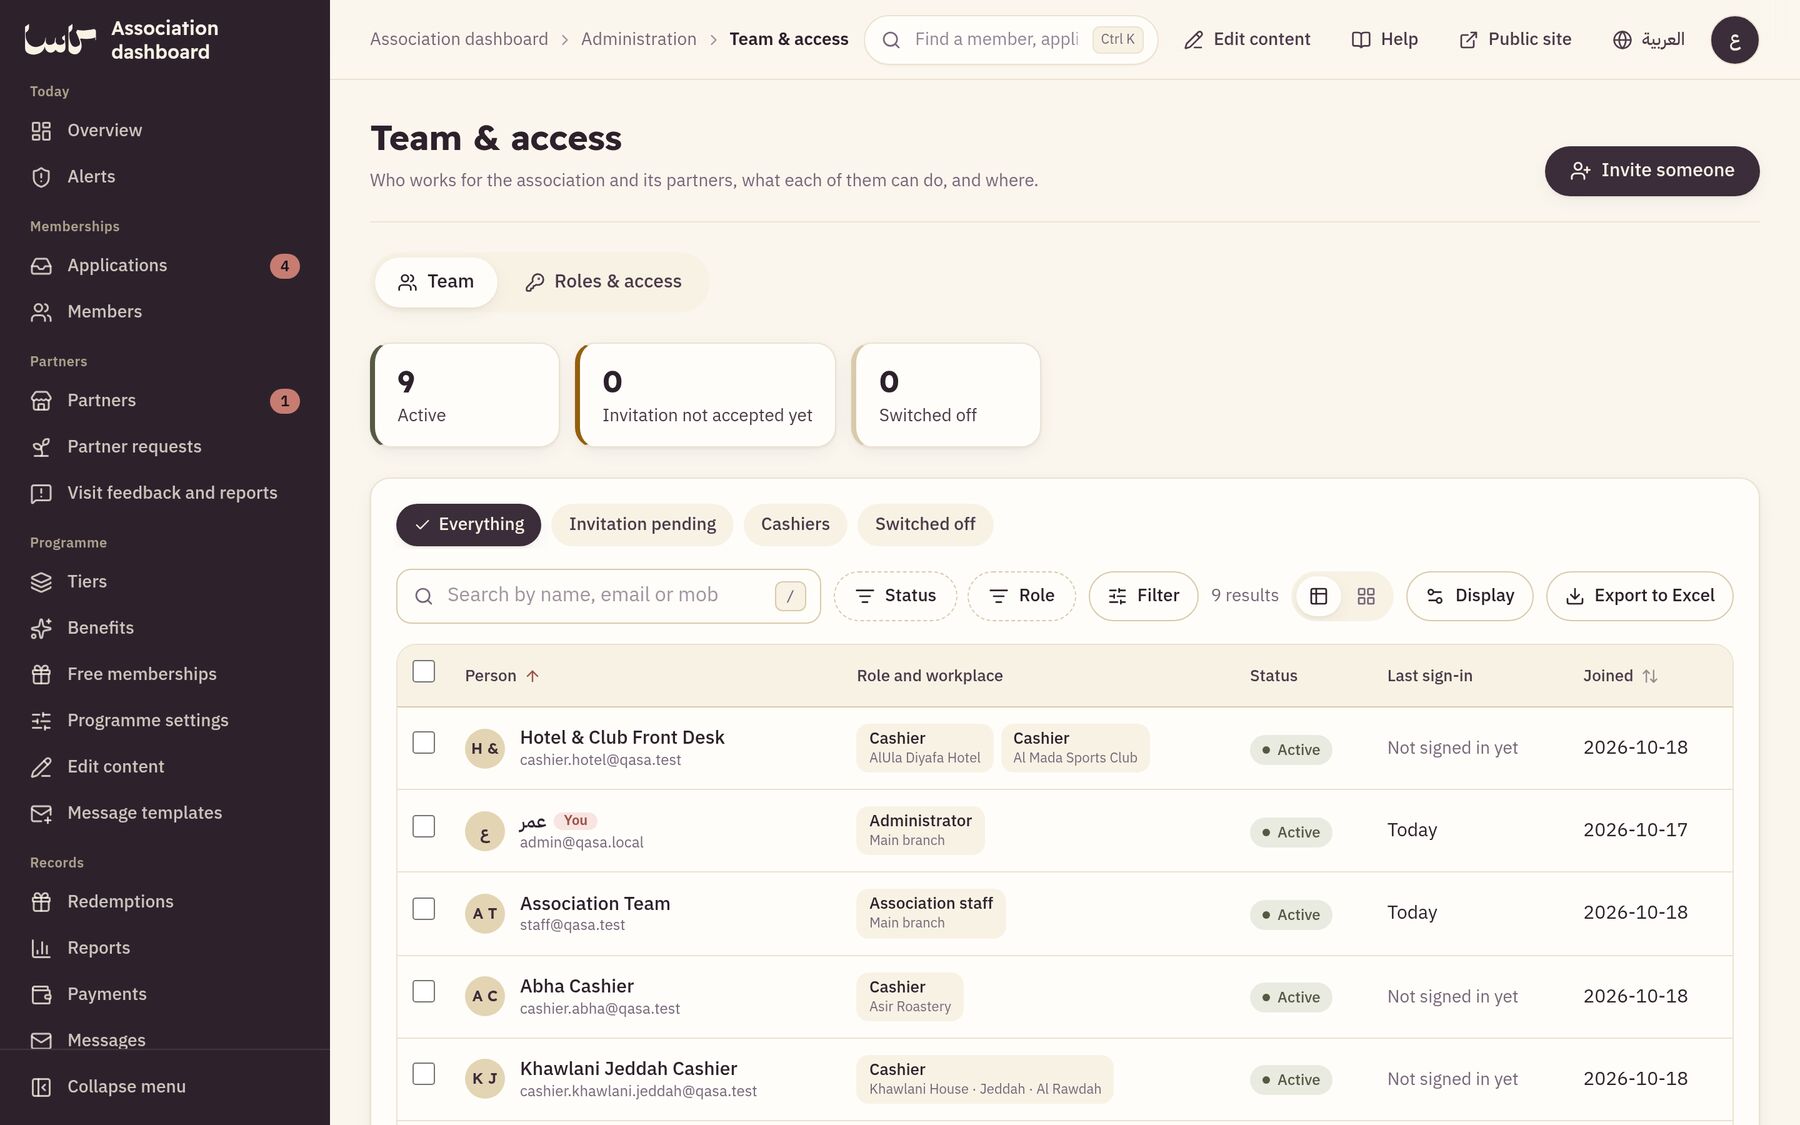
- In the side menu, open “Team & access”.
- Press “Invite someone”, write the name and email, choose “What will they do?” and “Where do they work?”, then “Send the invitation”.
- They receive a message with a link valid for seven days to choose their own password, and stay “waiting to accept the invitation” until they do.
- Press a person to open their file, then “Add a role” or remove one of their roles.
- If they lost their phone, press “Turn off their two-step verification”, or “Send them a password link”.
- For someone who has left, press “Switch the account off”: they are signed out of every device at once, and their name stays in the records.
Up close— The parts the steps talk about, enlarged.
-

The team counted by status
-

A person’s row: role and workplace
Chapter 2
Roles and access
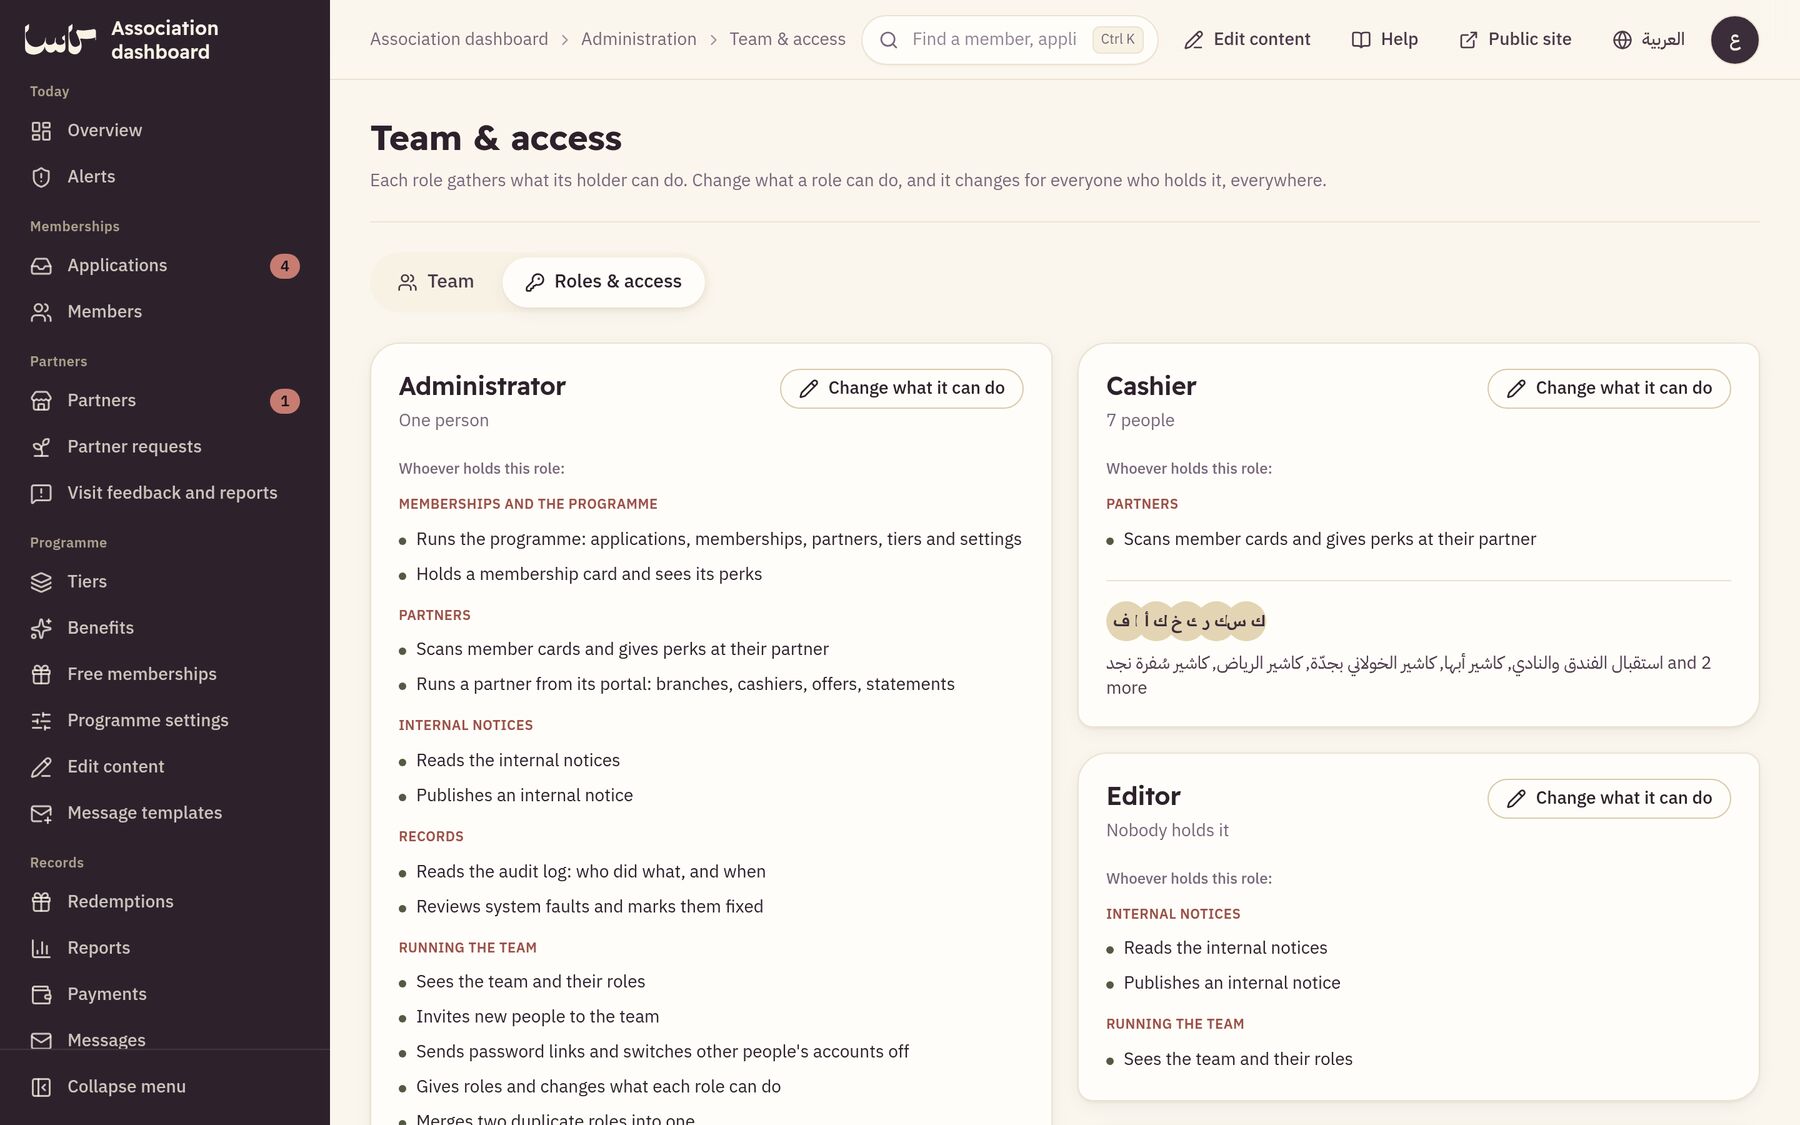
Each role gathers what its holder can do. Change a role once and it changes for everyone who holds it, everywhere.
 12
- In “Team & access”, open the “Roles & access” tab.
- Press “Change what it can do” beside the role.
- Switch on what the role needs and off what it does not, and read the summary at the bottom: who will gain and who will lose.
- Press “Save the changes”.
Up close— The parts the steps talk about, enlarged.
-
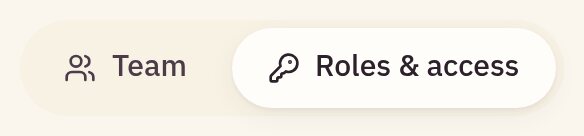
The “Team” and “Roles & access” tabs
-
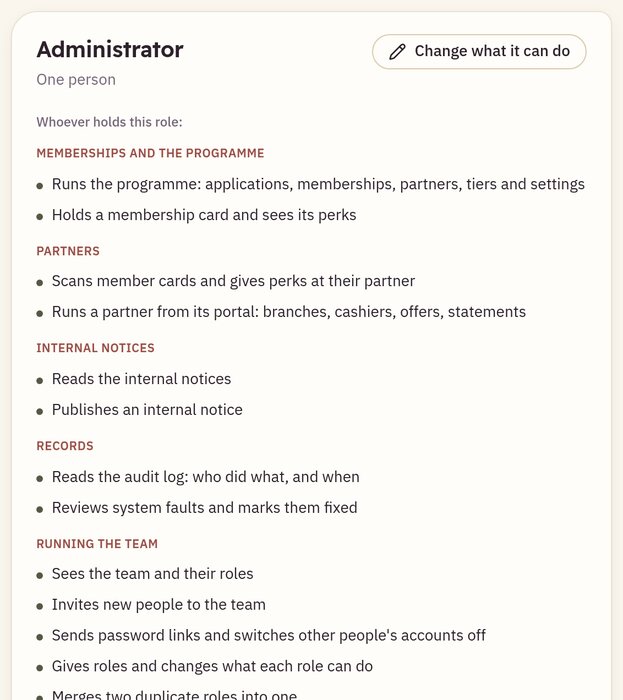
A role card
Chapter 3
Two-step verification
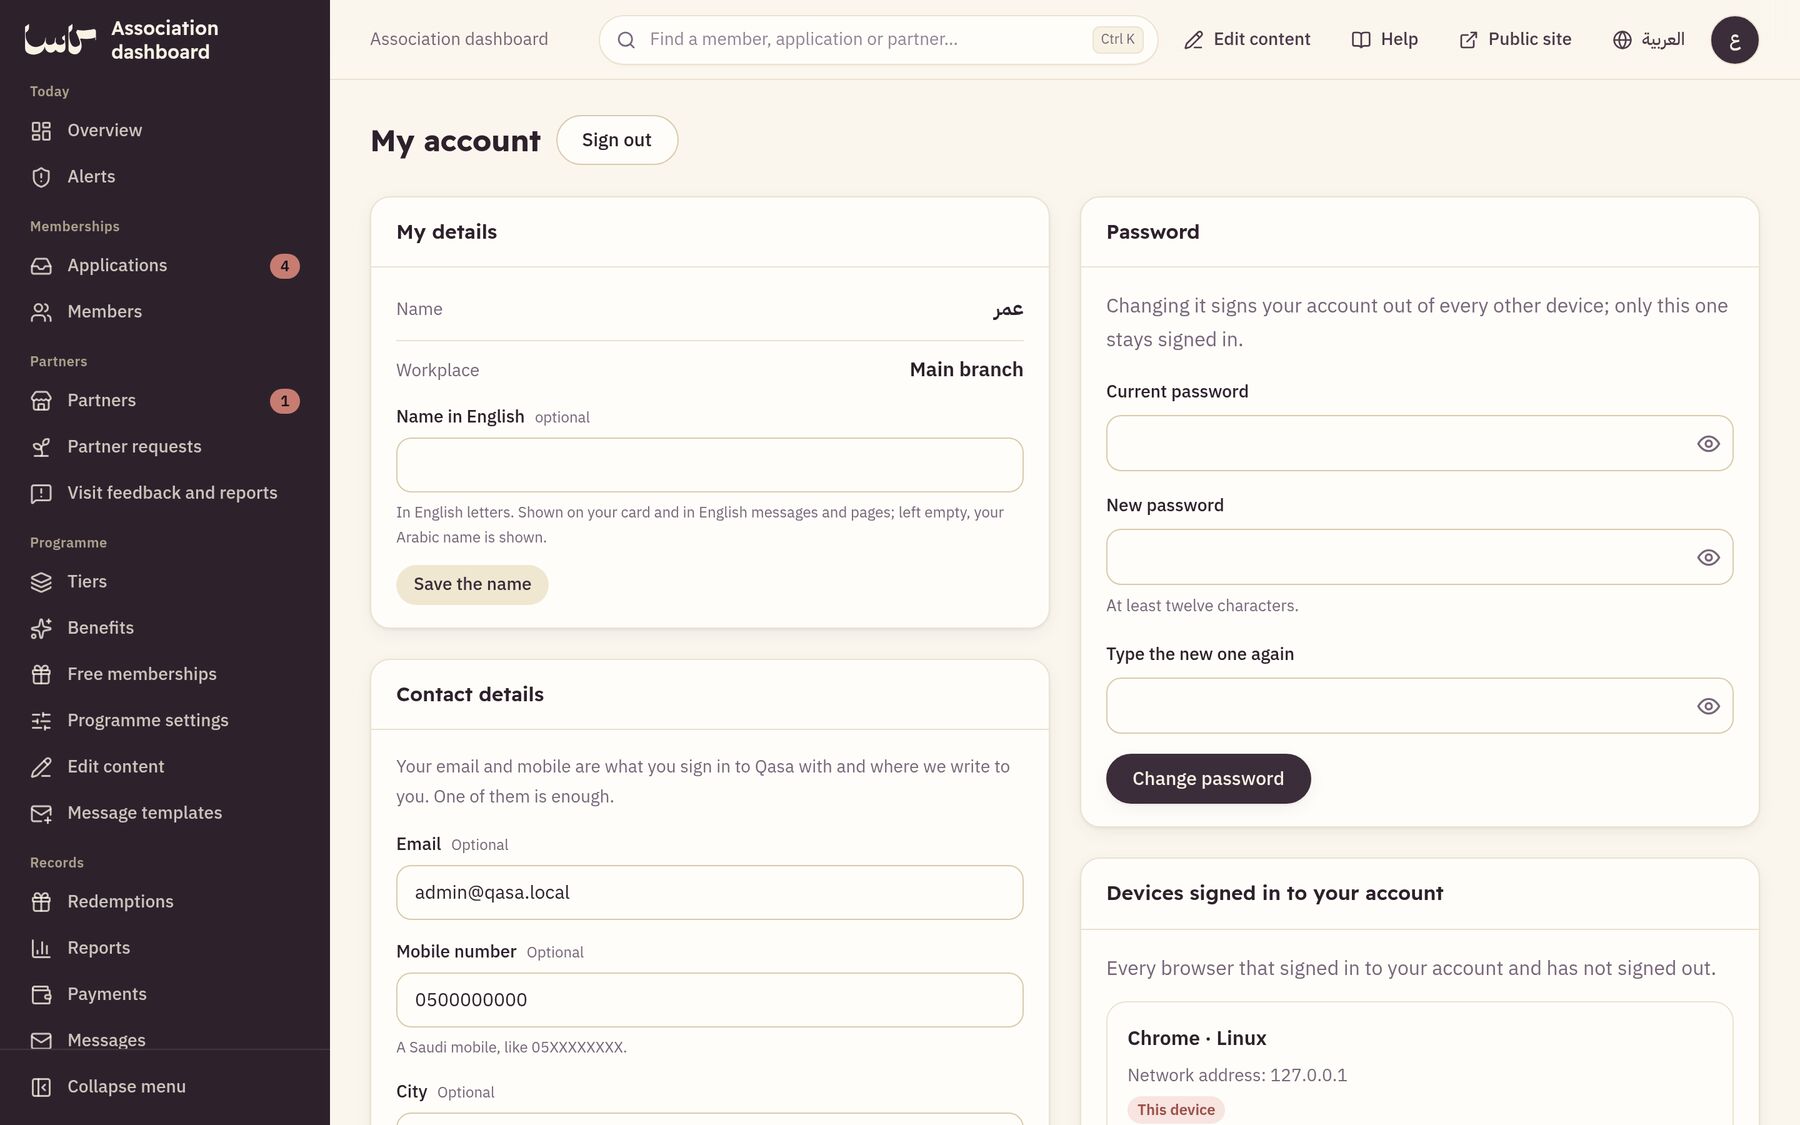
Team accounts open members’ data, so protect yours with a code from your phone after the password.
 12
- Open “My account” from your account menu at the top of the dashboard.
- Press “Turn on two-step verification” and scan the code with an authenticator app such as Google Authenticator.
- Type the code shown in the app and press “Confirm and turn on”.
- Keep the backup codes somewhere safe, then press “I have saved them”.
- From now on, every sign-in asks for a code from the app after your password.
Up close— The parts the steps talk about, enlarged.
-
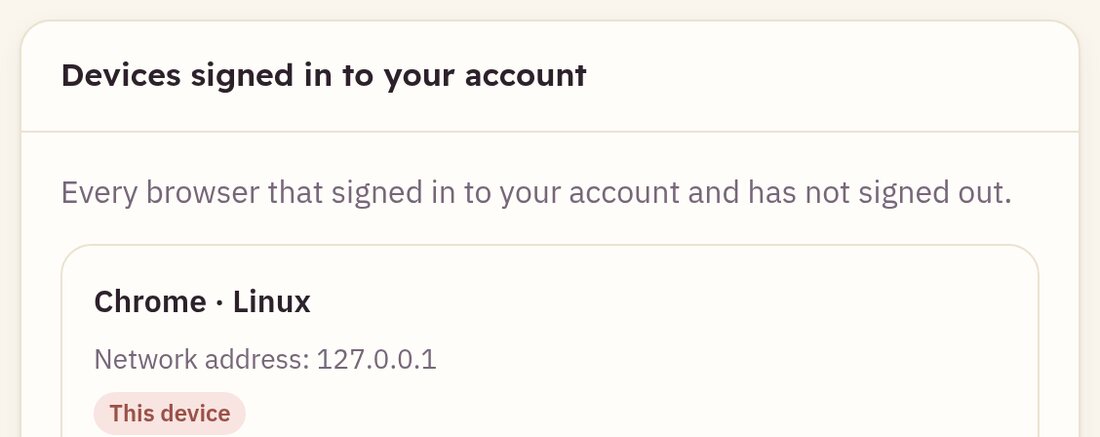
The two-step verification card
Chapter 4
The audit log
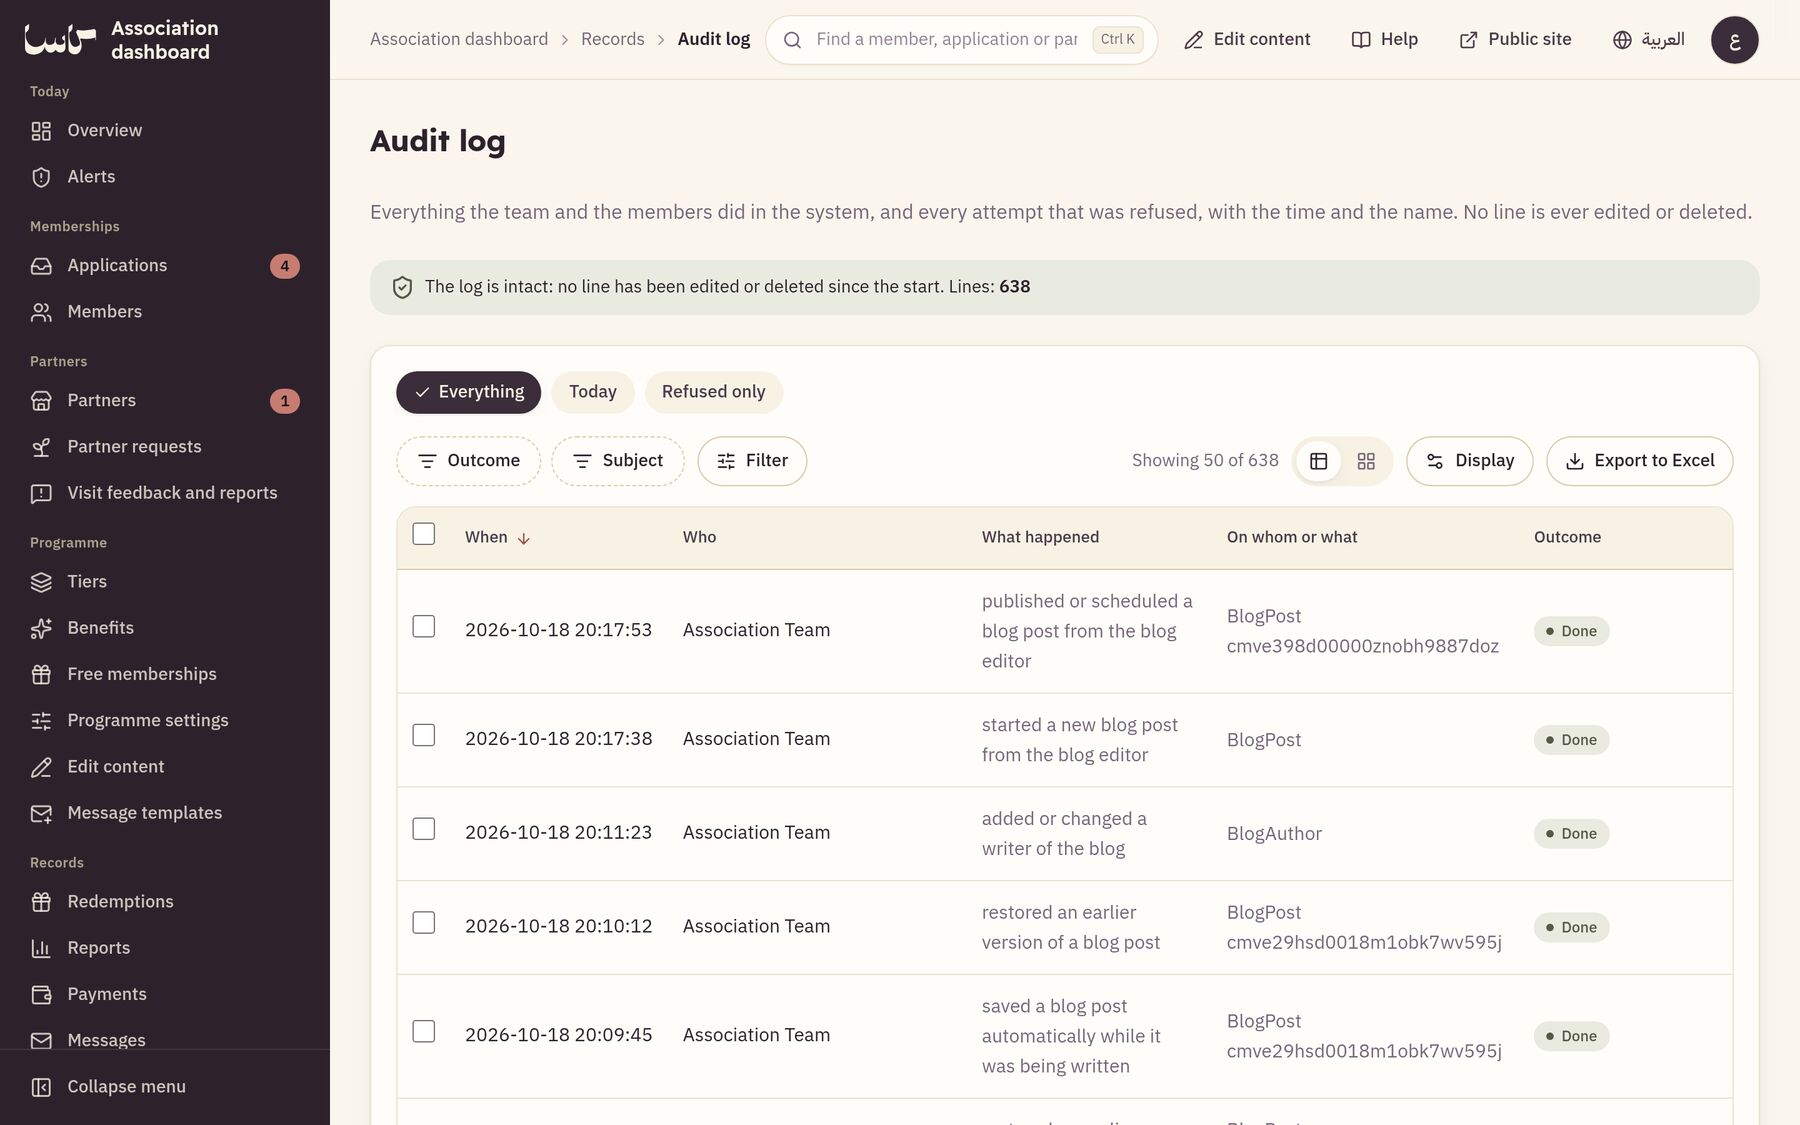
Everything the team and members did, and every attempt that was refused, with the time and the name. No line can be edited or deleted.
 234
- In the side menu, open “Audit log”.
- At the top you see that the log is intact; any change made outside the system shows a warning naming the first line that changed.
- Search and filter to find who did what, when, to whom, and whether it was done or refused.
- Press “Export to Excel” to hand a copy to a reviewer or an auditor.
Up close— The parts the steps talk about, enlarged.
-

The log’s integrity badge
-

An event’s row: when, who and what
Chapter 5
System faults
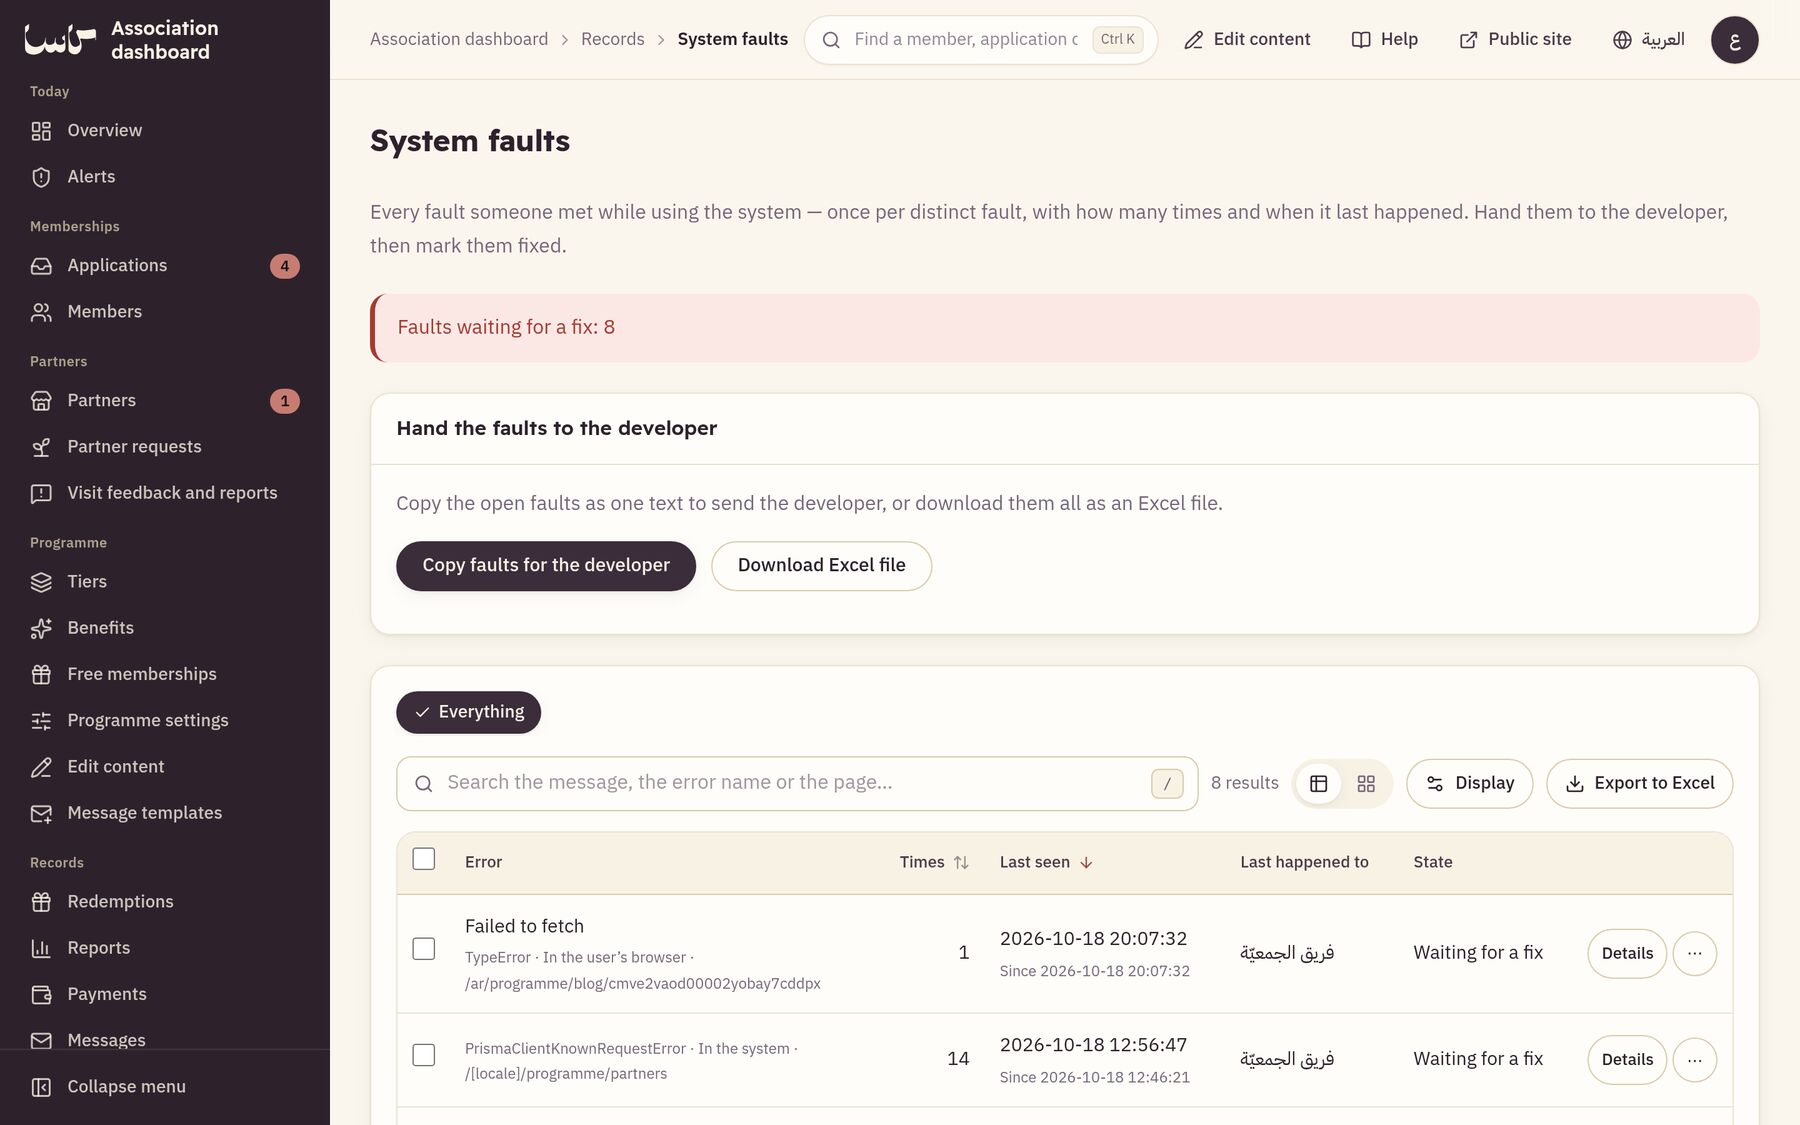
Every fault someone met while using the system, ready to hand to the technical team.
 123
- Open “System faults”; each different fault appears once, with how many times it happened and when last.
- Press “Copy faults for the developer” and paste them into your message to the technical team, or “Download Excel file”.
- Once fixed, open the fault and press “Mark resolved”; if it happens again, it comes back to the list by itself.
- Press “Clear the resolved errors” to tidy the list; the audit log keeps a note that you cleared them.
Up close— The parts the steps talk about, enlarged.
-

Handing faults to the developer
Chapter 6
Programme settings and demo data
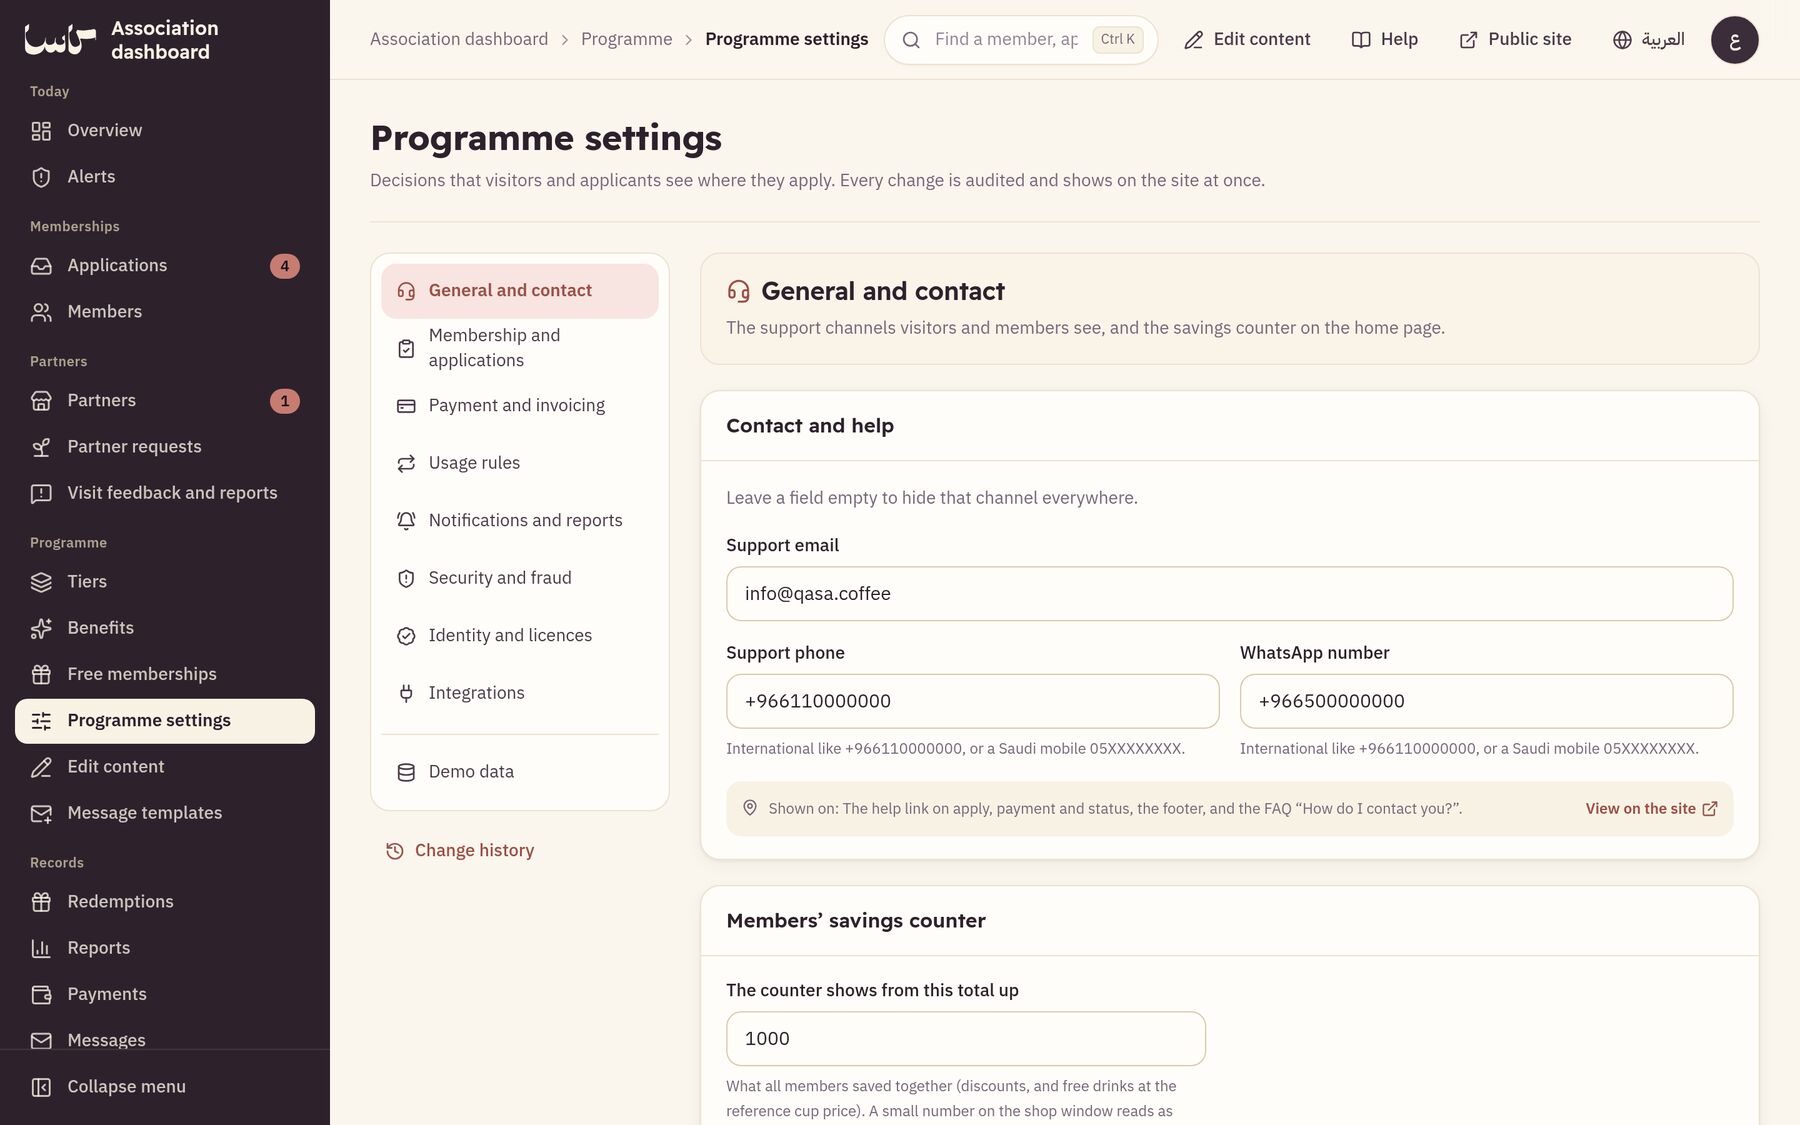
Decisions that visitors and applicants see in their places as soon as you save, split into sections by task.
 12
- Open “Programme settings” and choose the section from the side list (or from “Section” at the top on a phone): “General and contact”, “Membership and applications”, “Payment and invoicing”, “Marketers and commissions”, “Notifications and reports”, “Security and fraud”, “Identity and licences”, “Integrations”, “Demo data”.
- Under “General and contact”, write the support email, phone and WhatsApp number; an empty field hides that channel everywhere.
- Under “Membership and applications”, set the review working days, when the applicant pays (after approval by default) and the days to pay after approval. “Payment and invoicing” holds the VAT number and the refund policy.
- Each section is saved on its own: when you change something a bar appears at the bottom with “Save” and “Discard changes”. The audit log records what changed, and “Change history” opens it filtered to the settings.
- “Integrations” is read-only: it shows the state of email, text messages, payments and storage and what each is missing; they are set in the deployment, not here.
- Under “Demo data”, press “Create demo accounts” to demonstrate the programme, then “Remove demo data” before launch.
Up close— The parts the steps talk about, enlarged.
-
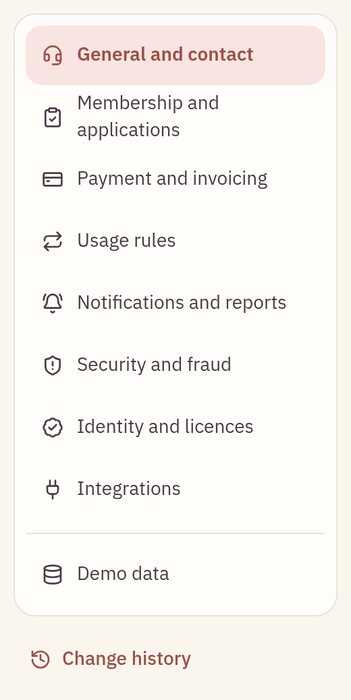
The settings sections
-
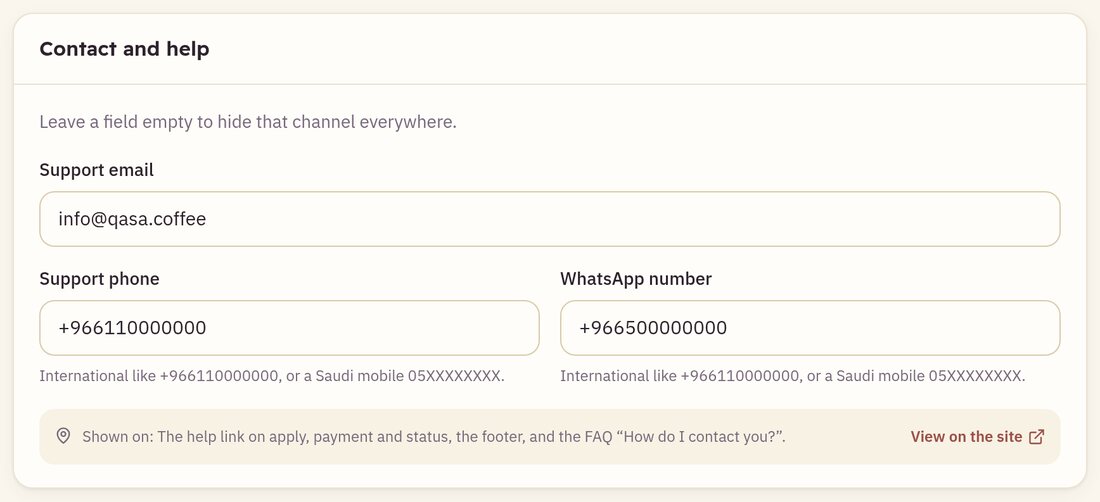
Contact and help
Chapter 7
Tiers and free memberships
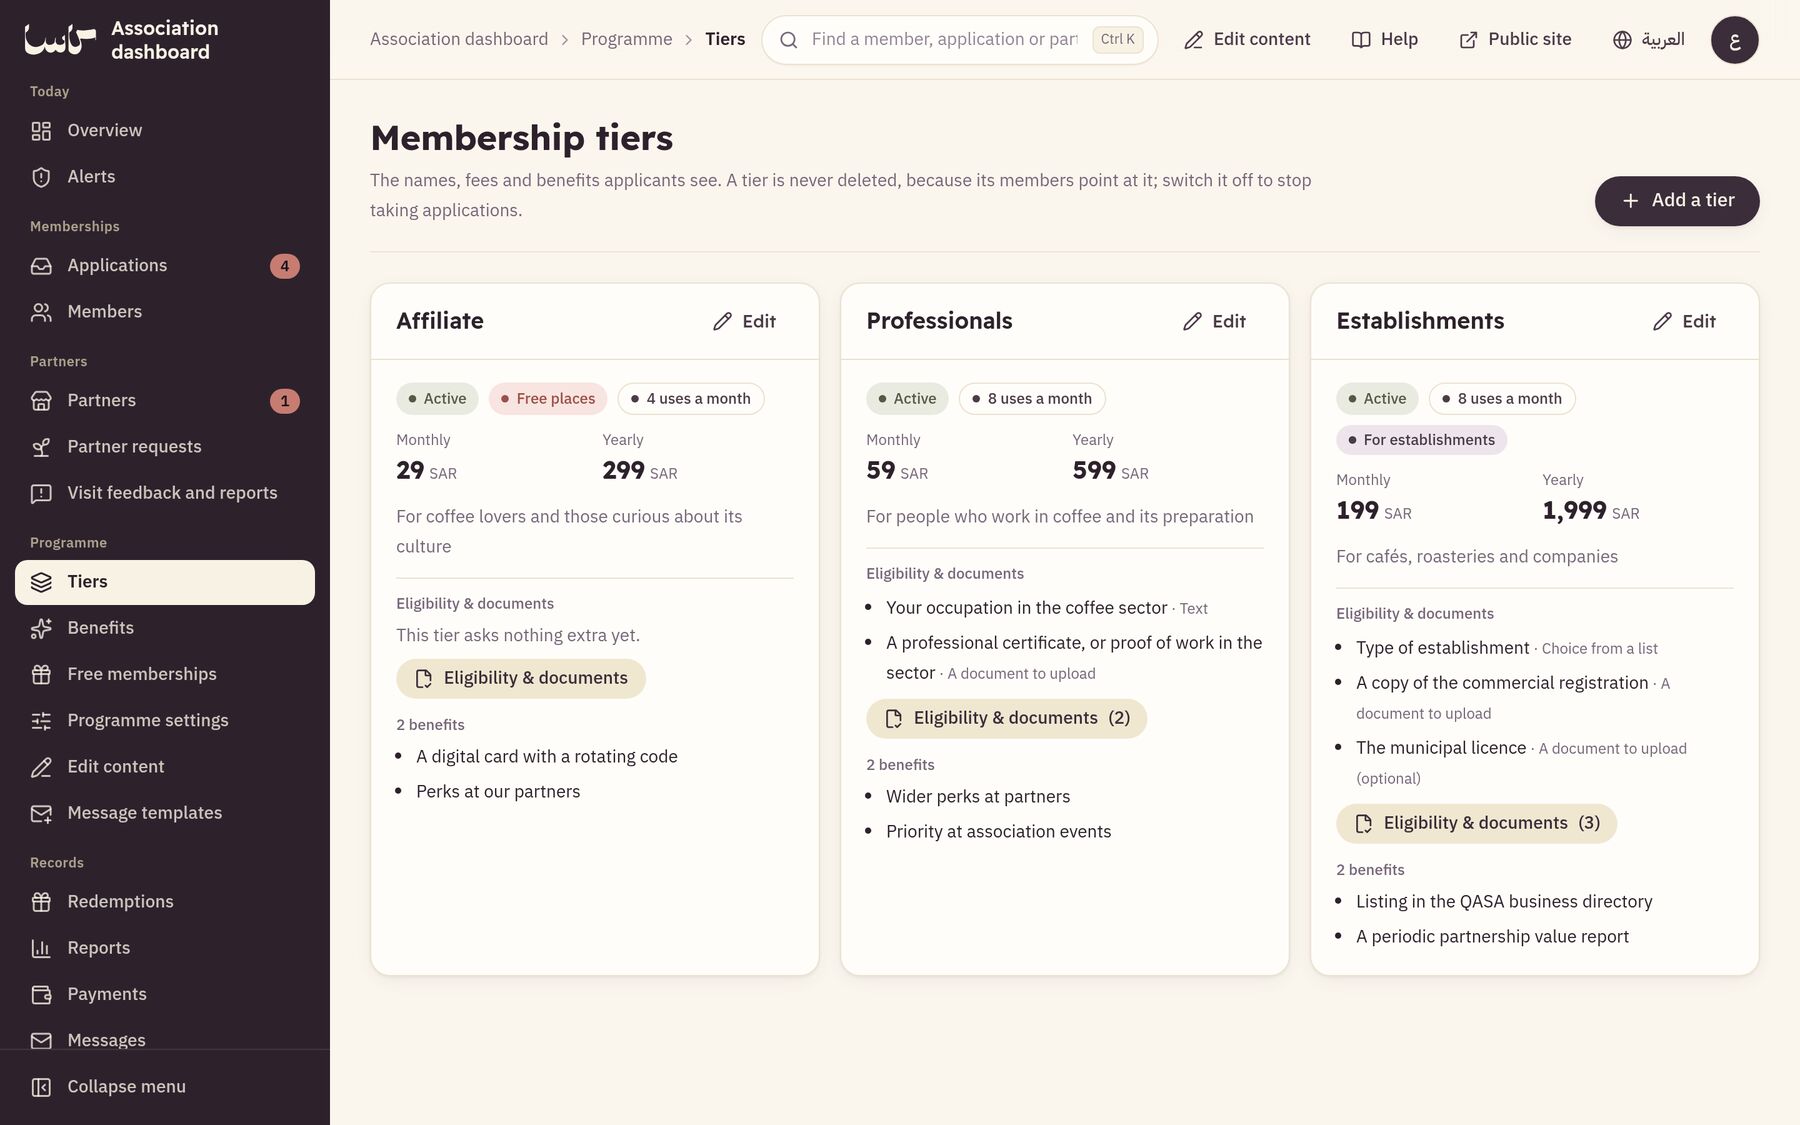
The tiers of each membership kind (Affiliate, Professional, Establishment) with their fees and perks as applicants see them.
 12
- Open “Tiers” and press “Add a tier”, or “Edit” beside an existing one.
- Write the name and description in both languages, switch on the yearly or monthly subscription and write each one's fee, and the benefit lines in order. From “Eligibility & documents” beside the tier, add what it asks of the applicant: “Add a question”, “Add a condition” or “Add a document”.
- Switch on “Takes free memberships” for an eligible tier, and switch off “Active” to stop a tier taking new applications.
- Open “Free memberships” and write the “Number of free memberships”.
- Switch “Open to applicants” on or off, then press “Save”.
- A free place is held when an application is submitted, counted when the membership is activated, and given back if the application is rejected, withdrawn or its payment window closes; free places stop by themselves once the number is reached.
Up close— The parts the steps talk about, enlarged.
-
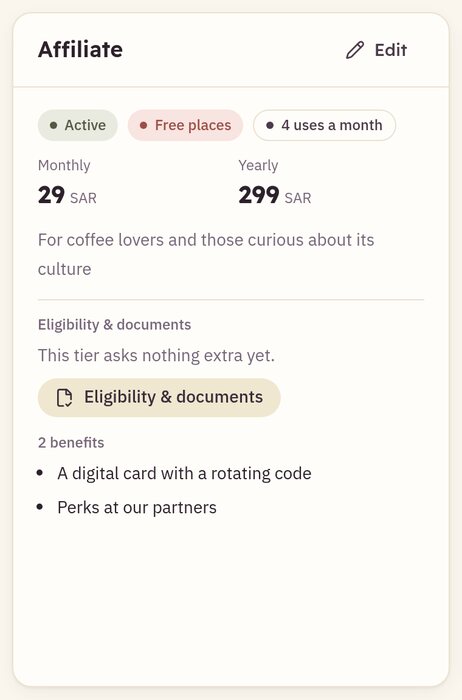
A tier card
Chapter 8
Editing the website’s content in place
Edit the public site’s text and pictures while you look at them, in Arabic and English.
- In the side menu, press “Edit content”; the public site opens with the “Content editing” bar.
- Press any framed element to edit it.
- Write the text in Arabic and English, or choose a new picture and describe it in both; you see the change on the page as you type.
- Press “Save and publish” to show it to visitors at once.
- To go back to the original text, press “Back to the default”, or open “History” and press “Restore this version”.
- Press “Finish editing” when you are done.
Chapter 9
Message templates
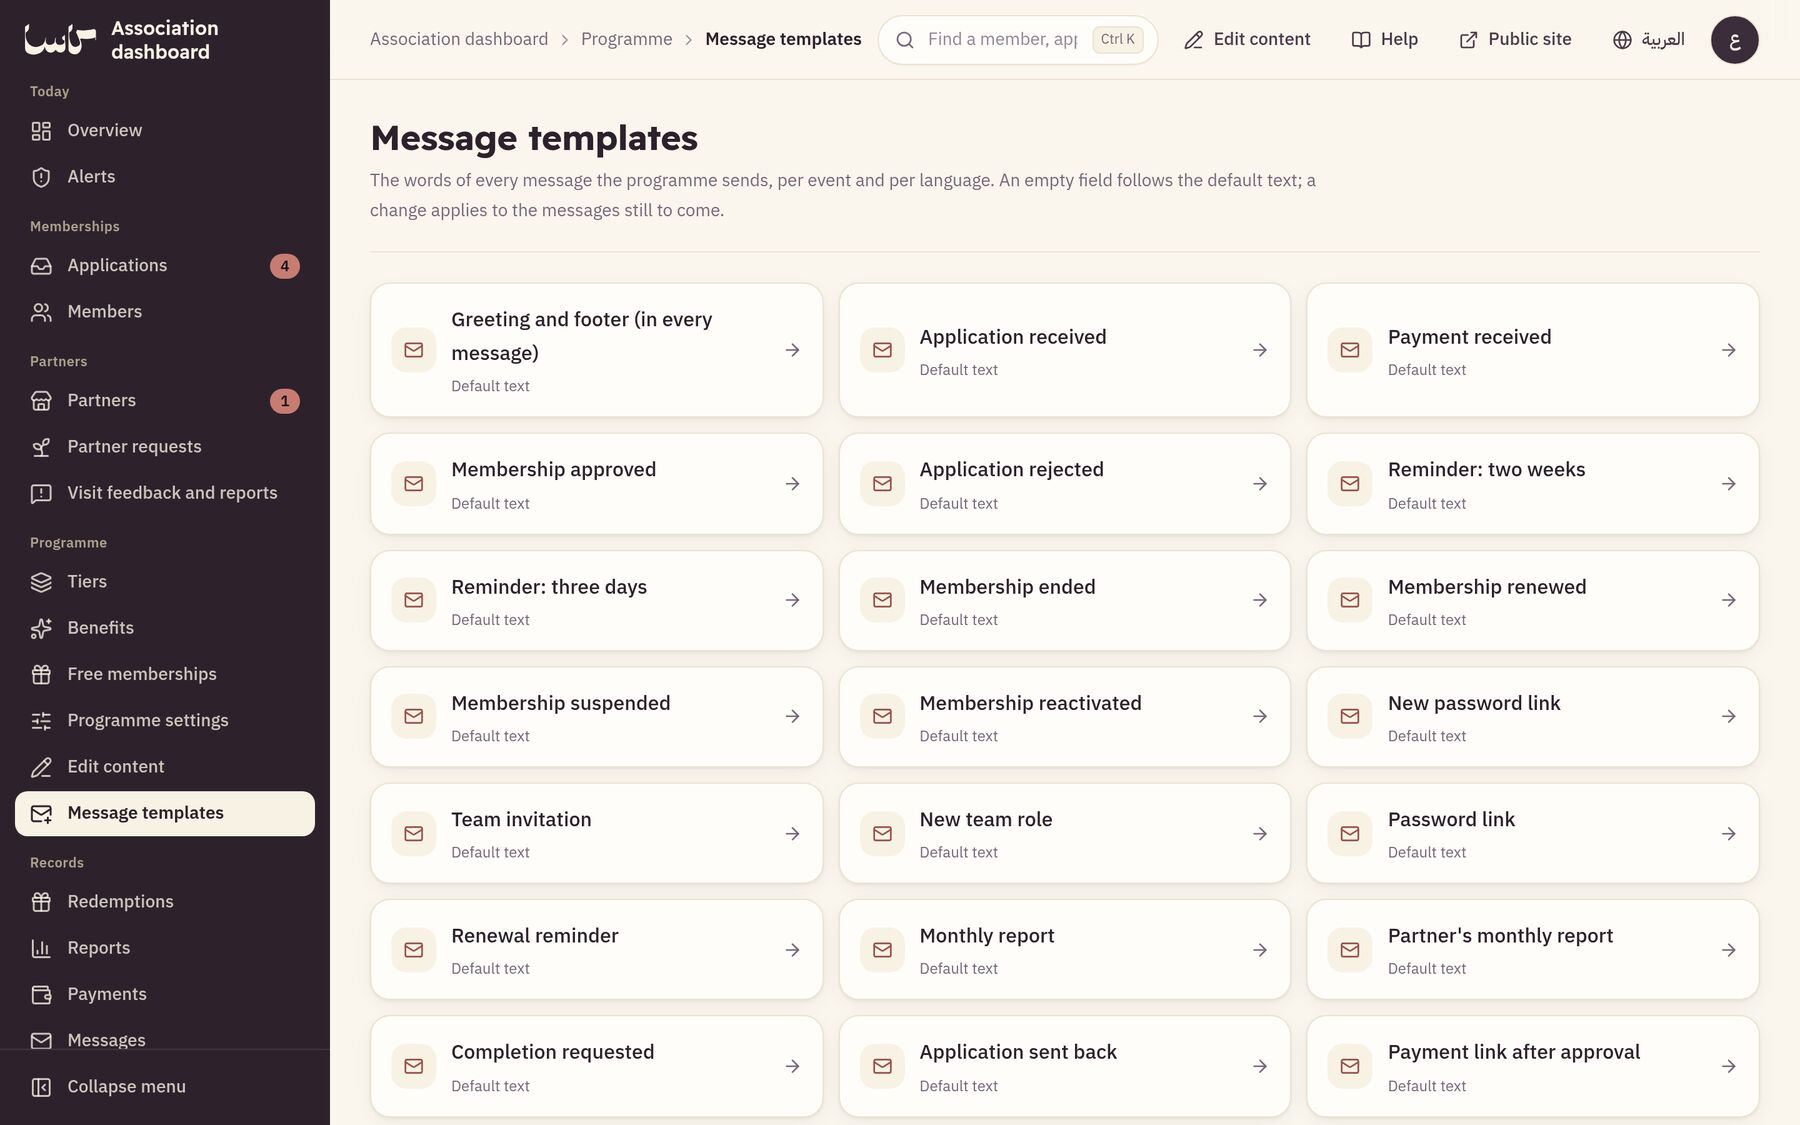
Write the text of every message Qasa sends yourself, in each language, and see it before you save.
 12
- In the side menu, open “Message templates”; you see the events: application received, completion requested, approval, payment link after approval, payment reminder, membership activated on payment, rejection, expiry reminders, renewal, suspension, team invitations, password links and more, with “Changed” beside the ones you edited.
- Press “Edit” beside an event and choose the “Arabic” or “English” tab.
- Edit the “Subject”, the “Short text” (shown in “My notifications” and sent as a text message to those without email), the body paragraphs and the “Button text”.
- Under “Placeholders”, press one such as the member’s name, the tier or the date to insert it at the cursor; each member gets their own details in its place.
- Check the “Live preview” of the email beside the form, then press “Save”.
- To put one field back, press “Back to the default” beside it, or “Put the whole message back to the default”, then “Yes, put it back”.
Up close— The parts the steps talk about, enlarged.
-
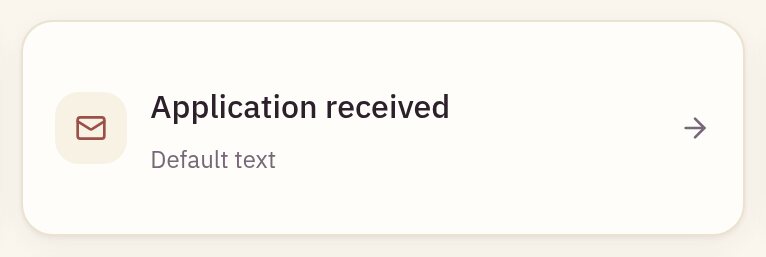
One event’s message template
Chapter 10
Privacy requests
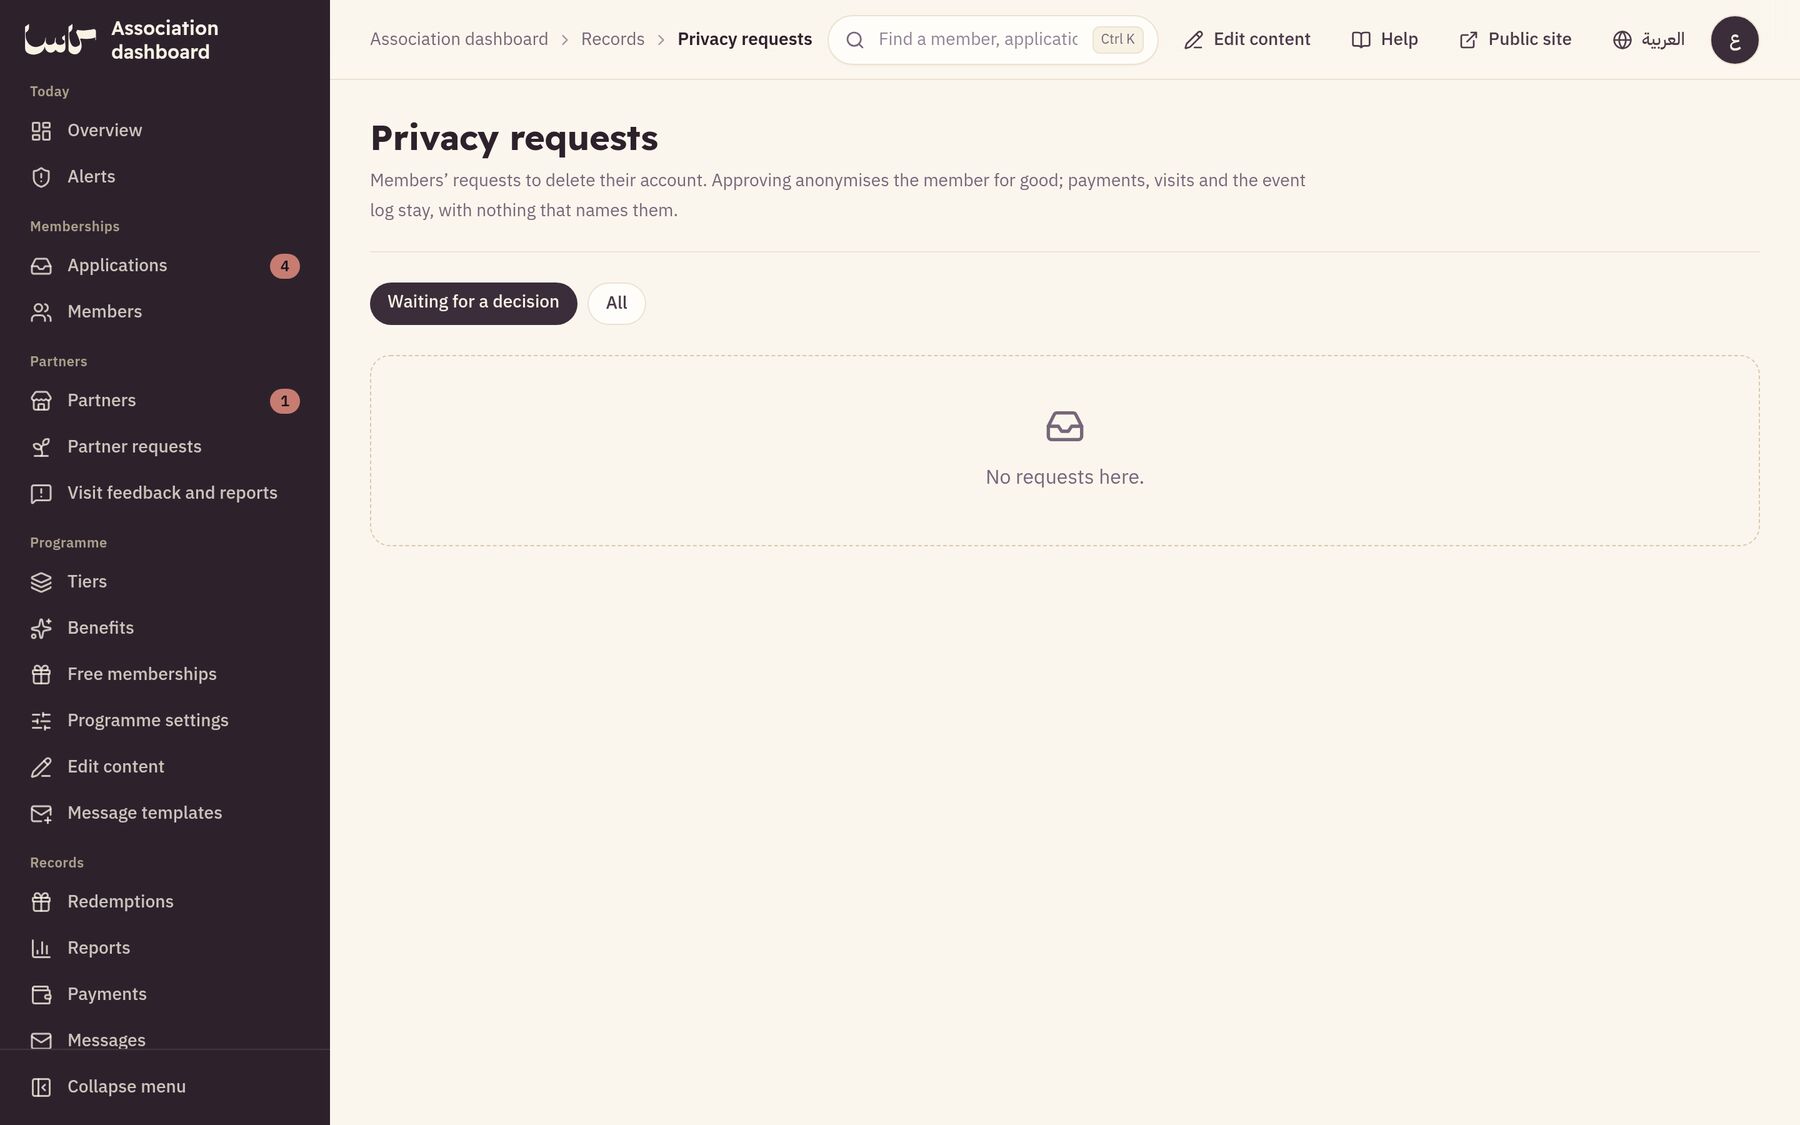
When a member asks for their account to be deleted, the request arrives here for you to review.
 1
- Open “Privacy requests”; the list starts on those waiting for a decision, each with the date it must be answered by.
- Check who sent the request, when, and their reason if they gave one.
- To approve, press “Approve and anonymise”, read the confirmation sheet, then “Yes, anonymise”. This cannot be undone.
- The name, email, mobile, password and what they wrote in their applications are erased; their card stops and they are signed out of every device. Payments, coupons and the audit log stay without anything that names them.
- Or press “Refuse”, write the reason the member will see, then “Refuse the request”.
Up close— The parts the steps talk about, enlarged.
-

Switching between “Waiting” and “All”